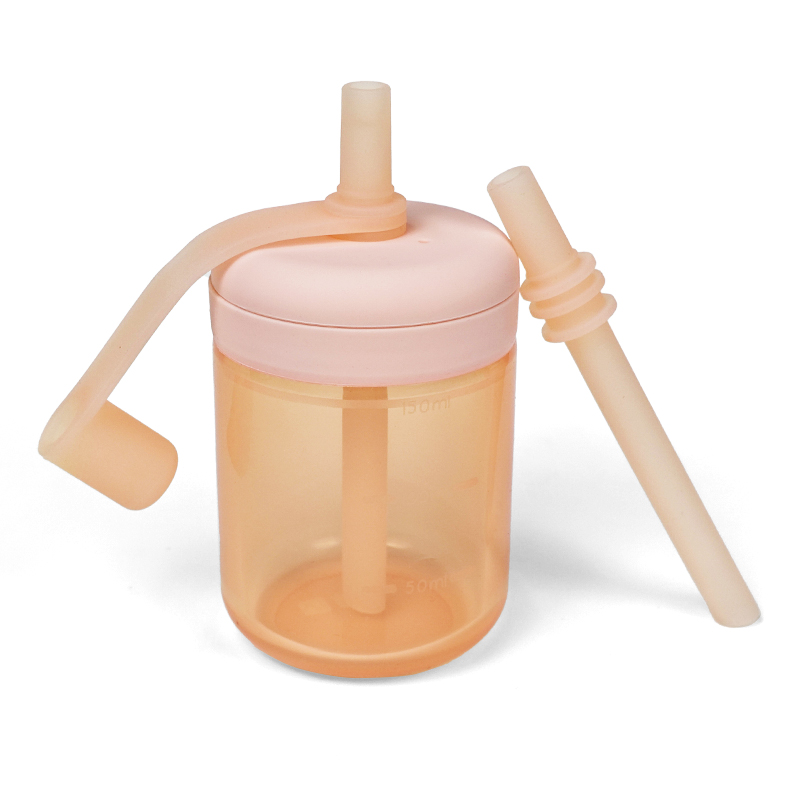
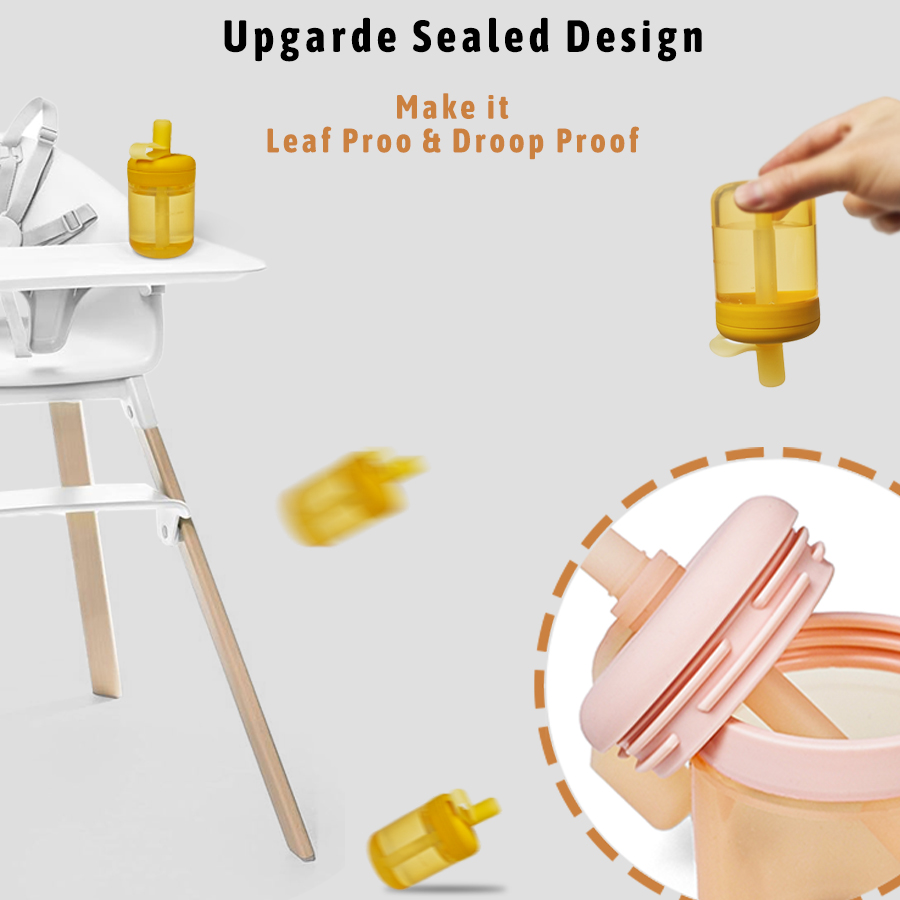
A wet bag or a puddle beside a cup tells a brand that something went wrong. It does not reveal whether liquid escaped around the lid, beside the straw or through the drinking channel. Each route needs a different response.
At DX, we recommend locating the leak before changing a silicone formula or approving new tooling. For brands, buyers and product developers, that diagnosis can turn an unclear request for a “better seal” into a useful design brief. Here is how we would approach the review.
Define what the cup is expected to do
Start with the intended use: drinking at the table, surviving a brief tip-over, or travelling with a separate closure secured. A cup with an open straw channel has a possible liquid exit even when its lid fits correctly. Improving the perimeter seal alone does not establish inverted leak resistance.
For each proposed claim, specify the liquid, fill level, orientation, duration and closure position. Identify whether the design uses a valve, a vent or a transport cap. Do not assume these features exist because the product is called a silicone straw cup. Our own cup listing is a useful starting point for a customization discussion, but the exact construction and performance target need to be confirmed for the selected model. [1]
Separate the three main leak paths
Liquid at the cup and lid joint
We would first examine whether the lid is seated evenly and whether the mating surfaces are clean and undamaged. On a design with a separate seal, confirm that the correct seal is present and fully installed. On an integral silicone sealing lip, inspect the lip itself rather than searching for an O-ring that the design does not use.
Liquid around the outside of the straw
Check the straw seating feature, lid opening and component revision. A straw that looks similar may not have the same sealing dimensions. Observe whether the leak appears only when the straw is moved sideways; that is a useful clue for a controlled follow-up test, not proof of the underlying cause.
Liquid through the straw
Check whether the channel is intentionally open or contains a valve. For its own sippy cup, b.box identifies straw damage, valve wear and a missing or displaced lid seal as troubleshooting points. [2] These are documented possibilities for that construction, not evidence of defect rates across the industry or in DX products.
Rule out assembly problems before altering the mold
Philips Avent tells users of the straw-cup models covered by its support page to clean and reassemble the parts, seat the straw fully and avoid overtightening the lid. [3] This is model-specific guidance, but it illustrates why “close it harder” should not be the default engineering answer.
We recommend comparing the same parts before and after correct reassembly under an unchanged test condition. Then exchange one compatible component at a time with an approved reference part. Label every combination. If the symptom follows one lid, straw or body, investigate that component and its interface; do not conclude that the material is defective from the swap alone.
If correct assembly is difficult to recognize, review the product as well as the instructions. A visible seating position, clearer orientation or a more distinct engagement feature may help. Any change should still allow intended disassembly and should be checked for component retention and usability.
Match the design change to the observed cause
Review the sealing geometry and support
For a perimeter leak, we would compare the rim profile, lid engagement depth and contact around the full circumference. Inspect representative molded parts for local distortion, flash, damage and mismatched dimensions. Where the cup body is flexible, compare an untouched cup with one under a defined side load. Deformation may matter, but it must be demonstrated on the actual design.
A stronger engagement feature may improve retention while making lid removal harder. A thicker local section may resist distortion while changing flexibility and molding behavior. These are tradeoffs to compare in prototypes, not guaranteed fixes. Keep logos, textures and mold parting details away from critical sealing contact where practicable, and review unavoidable features on samples.
Treat hardness as a controlled variable
We would not specify softer silicone as a universal cure. A softer part may conform differently but may also deform more under handling; a harder part may change assembly force and comfort. Compare candidate materials with the same geometry and documented processing conditions, then assess the finished assembly. A material data sheet alone cannot establish cup leakage performance.
Balance valve closure with drinking flow
If a valve is part of the intended design, evaluate opening behavior and drinking flow as well as leakage when closed. Making a valve harder to open can introduce a different usability problem. Check the air-entry arrangement too: do not block a vent simply because it appears to be a leak path.
Cleaning must preserve the functional features. For example, b.box cautions that its straw-top valve can tear during cleaning. [2] Our development recommendation is to compare performance after the proposed care routine and confirm that users can reach the relevant surfaces without damaging the assembly. A new valve design also requires an appropriate safety and usability review.
Verify the improvement with a repeatable test plan
The following is our proposed development comparison, not a published standard, a certification test or a report of DX test results. Agree the sample quantity, conditions and acceptance limits before testing. Keep the original design as a control and change one variable at a time where practical.
Establish a baseline
Record part revisions, material references, color, mold cavity where traceable, assembly method and closure state. Dry the outside of the cup, use a defined fill quantity and photograph the initial setup. Record the first visible leak location separately from the final puddle; liquid may run along a surface before dripping.
Compare relevant use conditions
Evaluate upright use, a defined side position and inversion only where relevant to the intended claim or foreseeable use. Separate tests with the drinking opening exposed from tests with a transport closure secured. If squeezing or straw movement reproduces the symptom, define the load or displacement so both designs receive the same treatment.
Use the intended liquids and temperatures within the proposed instructions. Water can provide a consistent initial comparison, but results should not automatically be extended to every beverage. Record temperature and fill level rather than treating them as background details.
Measure the result and check the tradeoffs
Record leakage by location, elapsed time and collected liquid mass or another agreed method. Report individual failures as well as the average. Alongside leakage, compare assembly effort, lid retention, straw retention and drinking flow using suitable equipment and an agreed method. Do not invent a universal acceptable force or leakage limit; set requirements for the specific product and target users.
Repeat the relevant checks after defined care cycles and representative packed storage. Use the care methods proposed for the finished cup. Packaging should not hold a flexible sealing feature in a damaging position, but deformation should be measured before attributing a problem to shipping. Agree the conditioning and recovery period before comparing results.
Carry the approved design into purchasing and production
For production approval, we would link the accepted sample to its drawing revision, material specification, mating components and test conditions. Include multiple samples and relevant cavities or lots in the plan. Verify critical interfaces across planned variants rather than assuming that every color or replacement straw performs identically.
The purchasing specification should identify compatible spare parts, inspection points and change-control requirements. Confirm the applicable finished-product safety and food-contact requirements separately for the target market. A successful leakage comparison supports a functional claim; it does not establish complete regulatory compliance.
Develop your custom silicone baby cup with DX
Planning a new cup or resolving a specific leakage issue? Share your drawings or sample, intended use, target market, leak location and performance expectations with us. We can discuss custom silicone baby products, including logo, color and shape options, and review project-specific mold and packaging requirements. [1]
Contact DX to discuss your custom silicone baby product project.
References and Further Reading
Sources accessed 29 October 2026. Brand support instructions below apply to the products named by their publishers. The proposed diagnosis and validation workflow is DX editorial guidance, not a claim that DX has completed these tests.
1. DX Silicone — Silicone Baby Sippy Cup with Straw
Product context and customization options; confirm model-specific construction during enquiry.
2. b.box USA — Product FAQs — Sippy Cup
Original manufacturer guidance on leak location, seal installation, straw condition and cleaning.
3. Philips Avent — My Philips Avent straw cup is leaking
Original manufacturer instructions on assembly, straw seating and avoiding overtightening.
4. DX Silicone — Silicone Baby Feeding Products for Travel and Daycare
DX provides you with all-around silicone product customization services for valued customers like you.